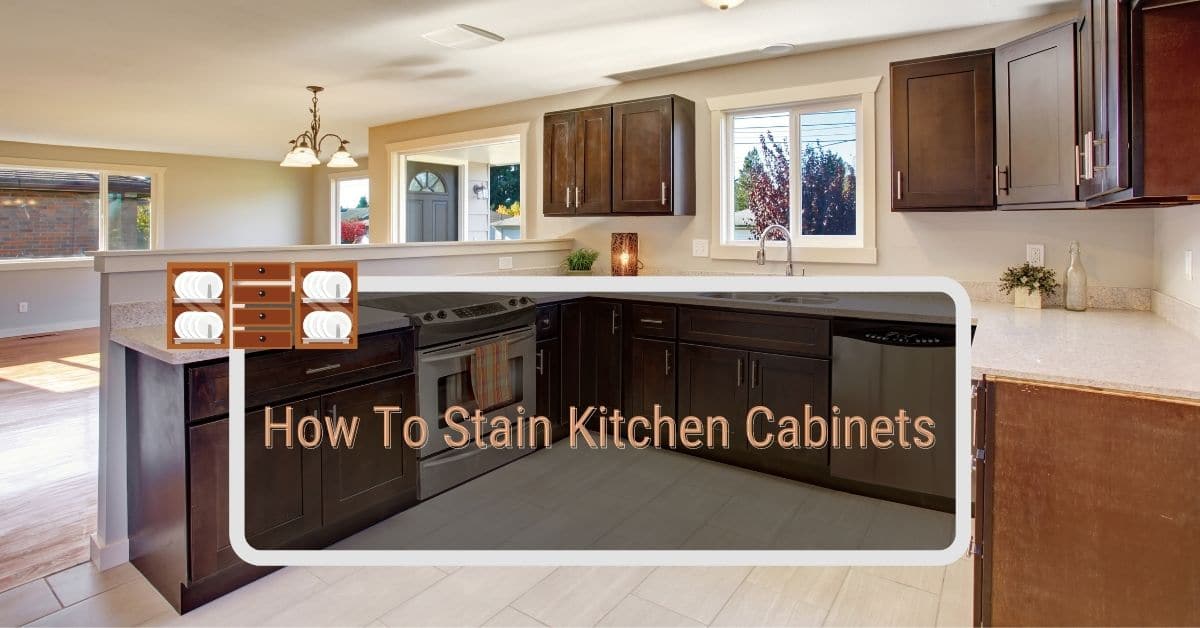
When it comes to kitchen cabinet staining, there are a few things you need to keep in mind. This guide will walk you through the entire process, from preparing your cabinets to applying the final finish coat. By following these simple steps, you’ll be able to achieve beautiful and lasting results. As a homeowner, you’re always looking for ways to improve your home. One way to do this is by staining your cabinets. Not only will this make your kitchen look nicer, but it will also increase its value. So, if you’re thinking about giving your kitchen a makeover, keep reading. So, whether you’re looking to update your existing cabinets or give them a whole new look, read on for tips and advice on how to stain cabinets like a pro, various kitchen cabinets stain colors, and what is the best stain for cabinets:
What is a stain?
A stain is one type of finish applied to wood to alter or improve its appearance. Cabinet staining refers to the change of wood color or shielding it from harm. The stain is absorbed by the wood in the grain while maintaining natural wood characteristics.
What are the top kitchen cabinets stain colors?
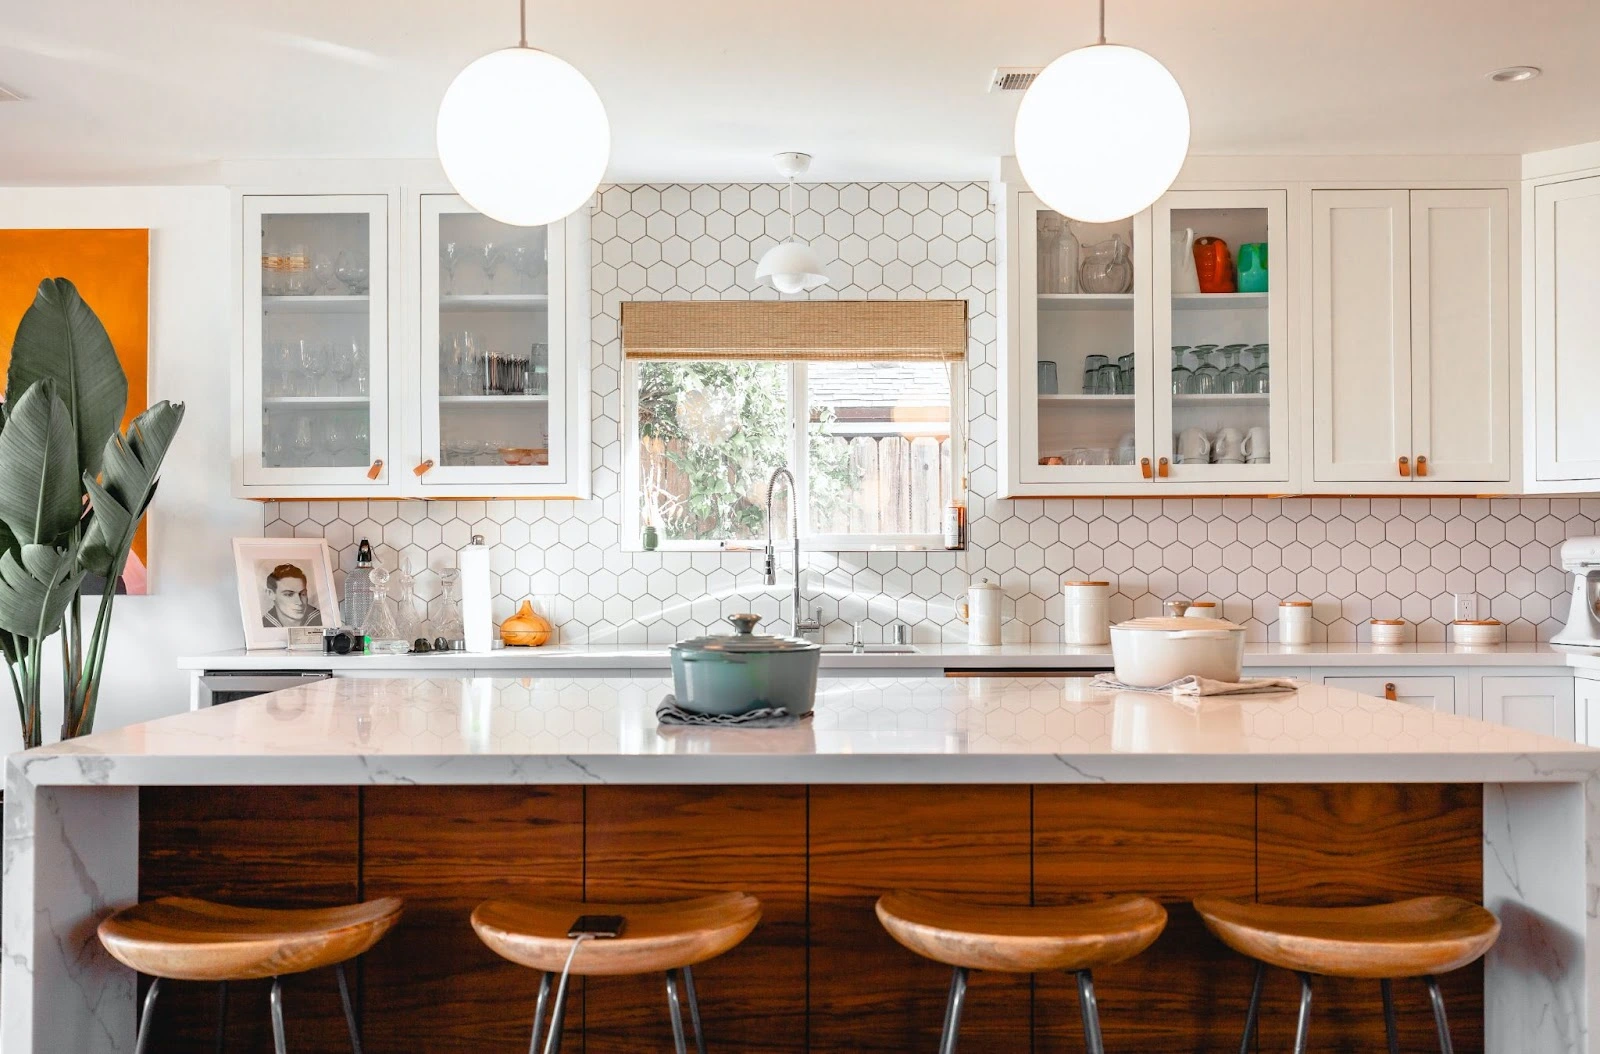
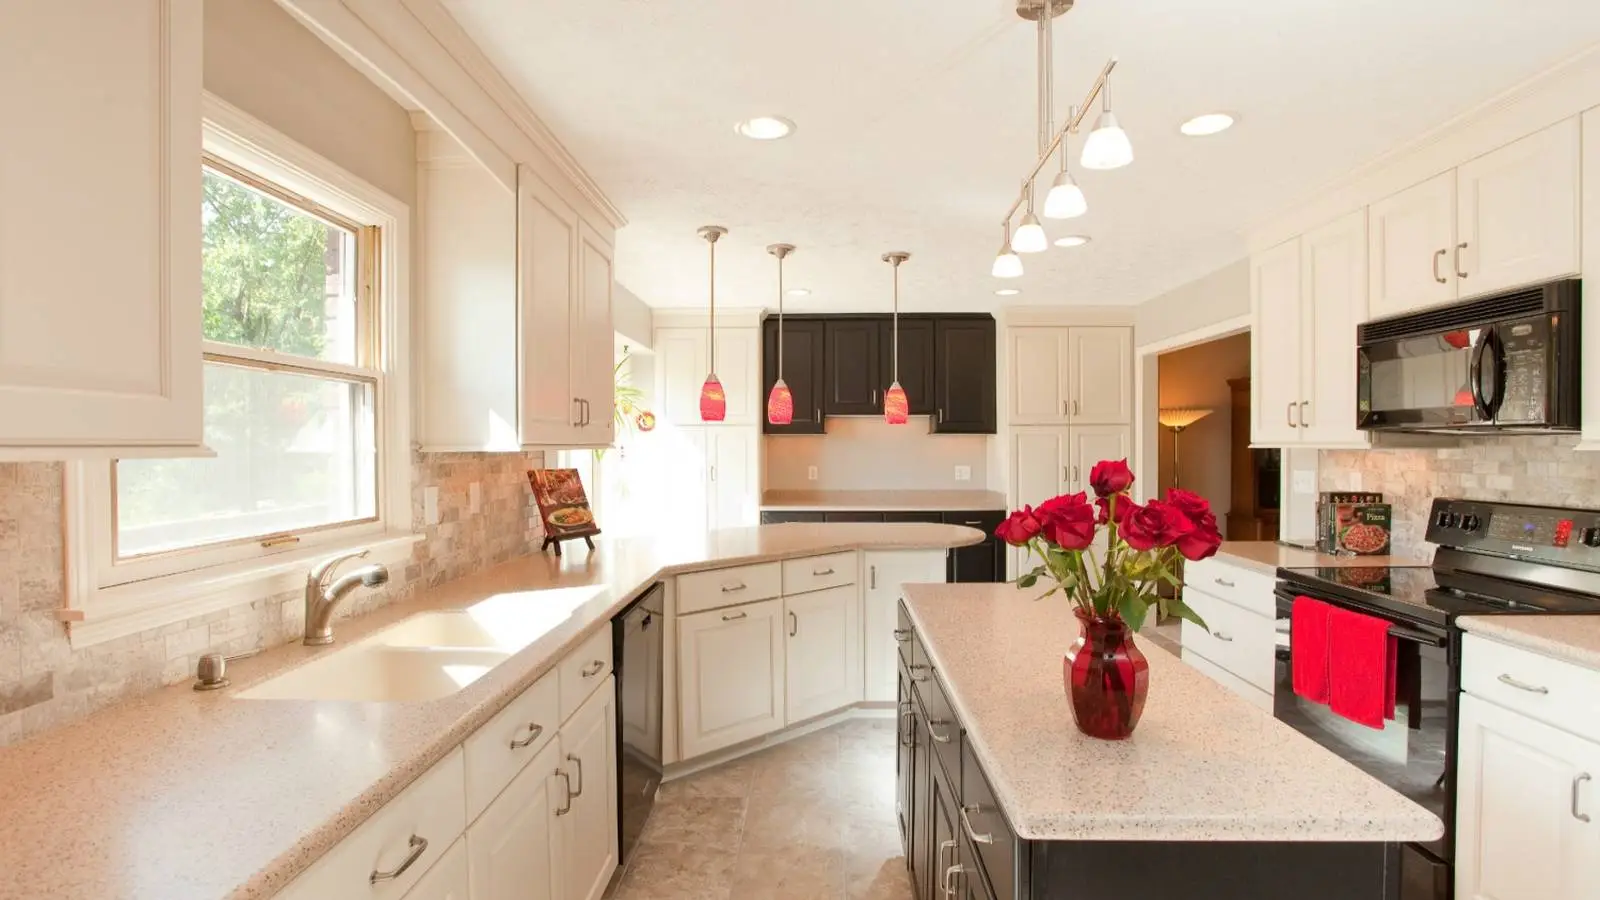
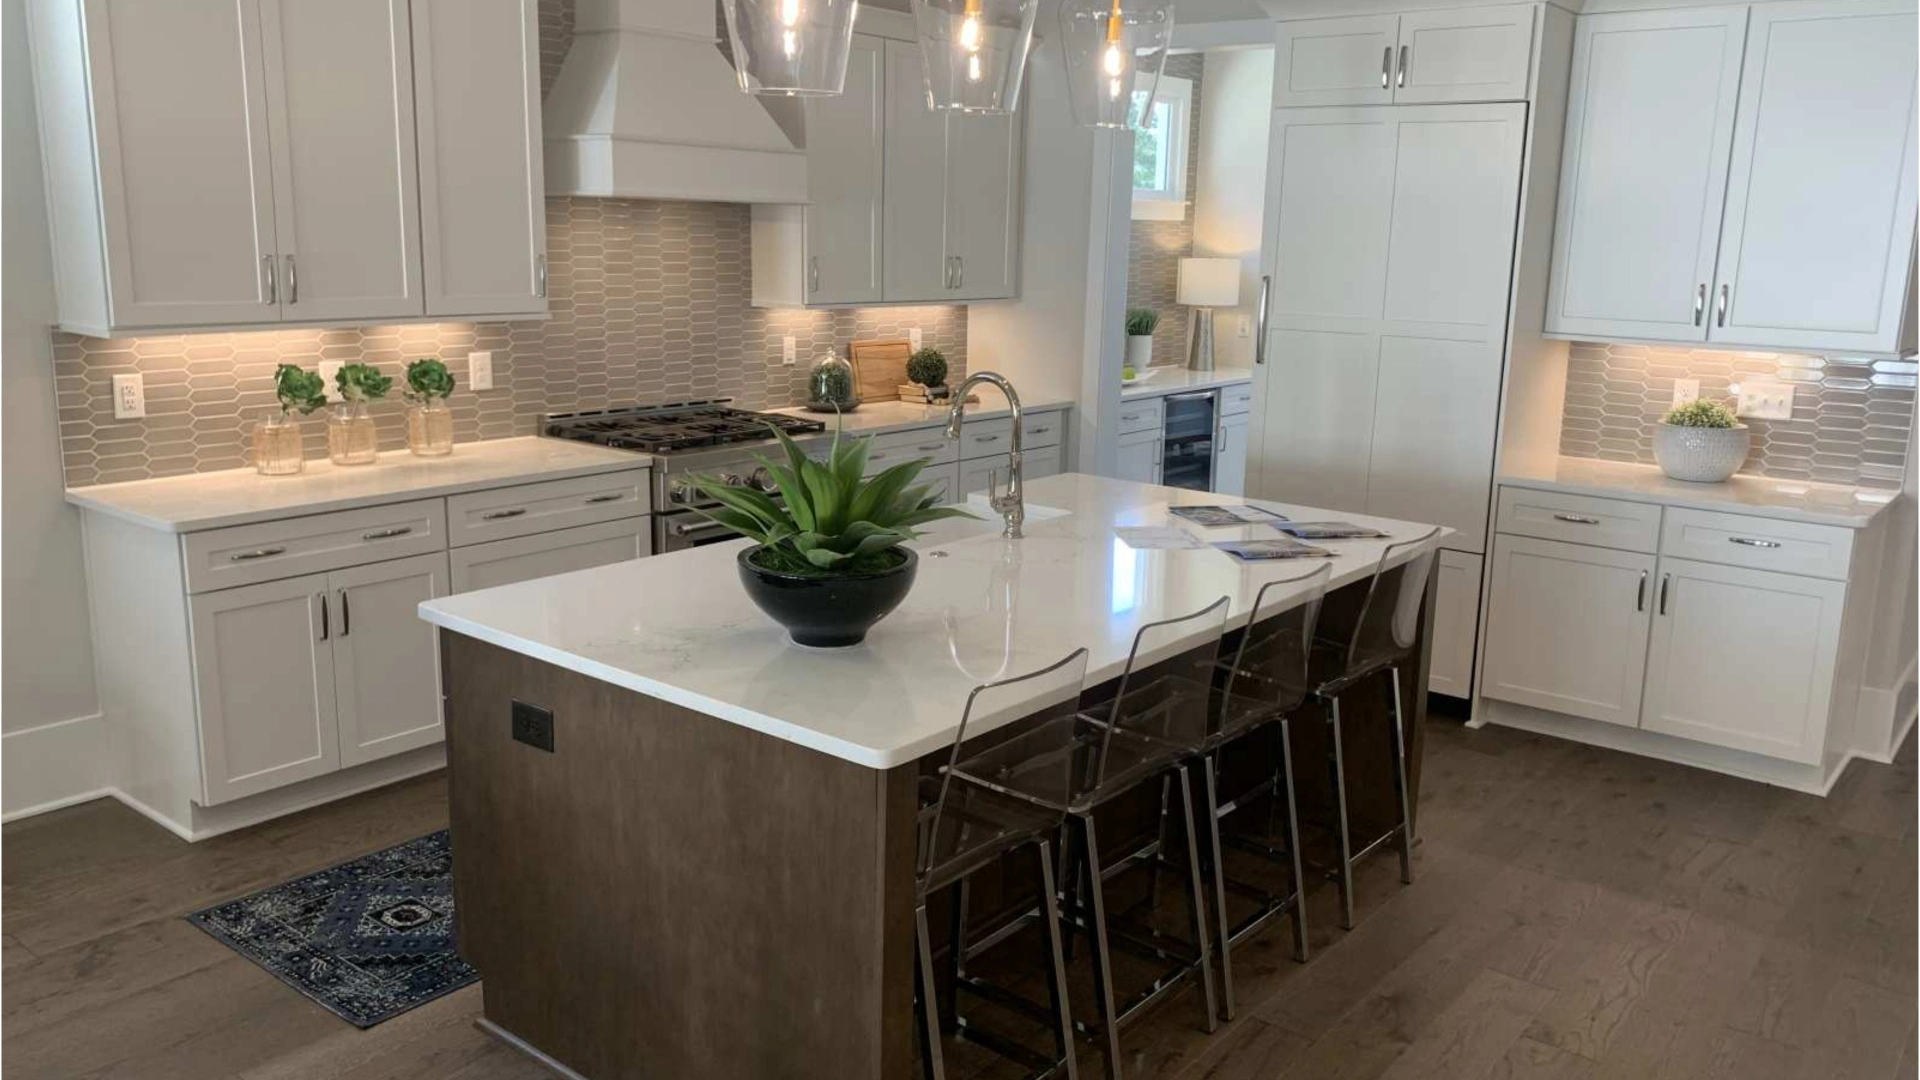
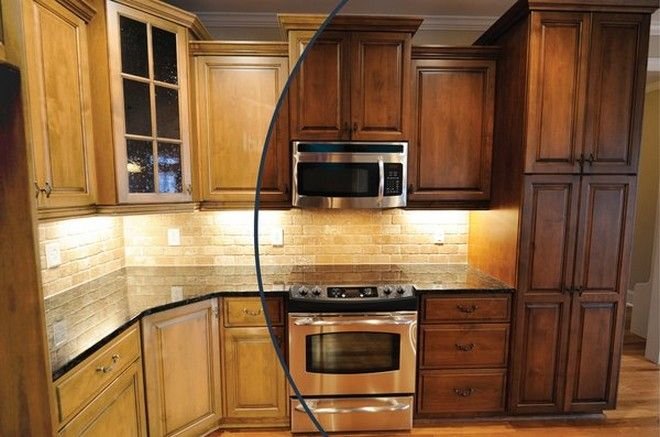
There are a variety of kitchen cabinets stain colors you can pick to paint your cabinet. The best stain for cabinets is determined by your taste and the kind of wood that your cabinets are and the color currently used on your cabinets, and the overall scheme of the color of the room. The most well-known kitchen cabinets stain colors are:
-
Blonde
-
Brown
-
Black
-
White
-
Gray
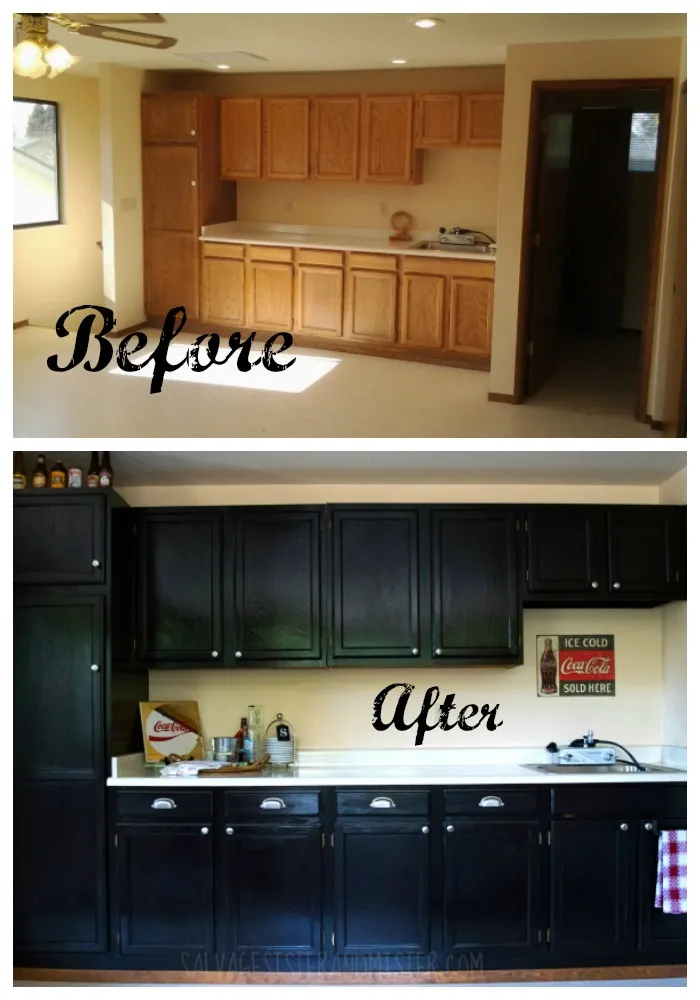
Step-by-Step Procedure for Kitchen Cabinet Staining
It doesn’t require skills to paint your cabinets. Follow these easy steps for the perfect cabinet staining and change your old cabinets into new ones that you’ll enjoy for many years to come:
Step 1. Set up your space:
Before you begin cabinet staining, you must make sure your room is prepared to stop the stain from getting on any surfaces other than cabinets. Utilize drop cloths or plastic sheets to protect surfaces like your countertops and flooring and other parts of the space. Take out all furniture hardware and hinges before putting the doors of your cabinet aside.
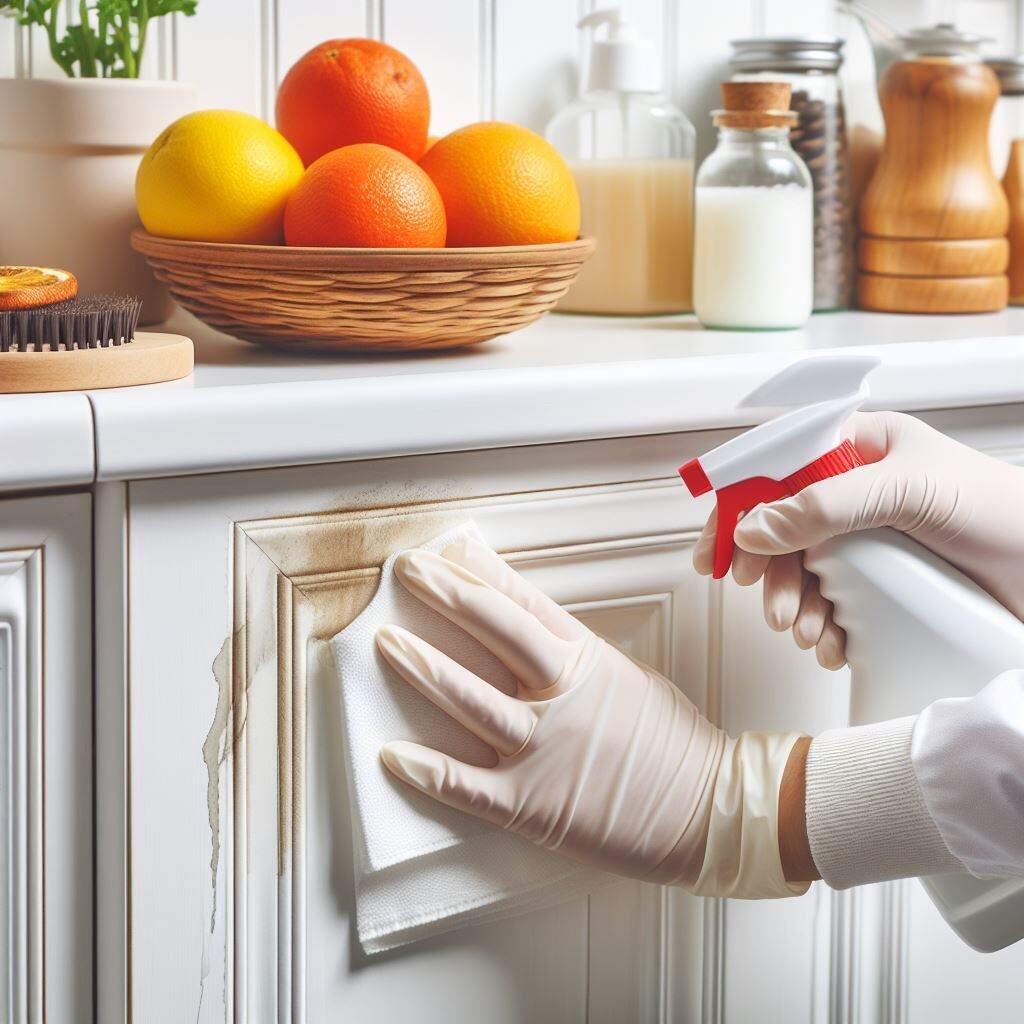
Step 2. Clean your cabinets (if not already stained):
If your cabinets aren’t stained or painted, you will require extensive cleaning. You can clean them using a sponge and mild soap, then simple water to remove the soap remnants. If your cabinets have been painted or stained, particularly if you’ve used gel stain for cabinets you may avoid this step.
Step 3. Remove the existing finish from the cabinets:
There are two options to get rid of the stain off your cabinet. You could either sand it off or employ a chemical stripper. If you opt to send it away, we recommend utilizing the hand-sander of an electronic beginning with sandpaper that is heavier in grit followed by a second time using more fine sandpaper. A chemical stripper may aid in saving time and energy. However, you should pay for any warnings included in the project you are considering. Chemical strippers typically take approximately 30 minutes to be set. Once it’s installed, it will peel off with ease using the help of a scraper. Some easy-to-apply stains such as gel stain for cabinets are way easier to remove than the harder, more permanent ones.
Step 4. Use wood conditioner:
Before diving into the cabinet staining process, we advise applying the wood conditioner. This will ensure that the stain sticks evenly to provide the best results. Paintbrushes a thin layer of conditioner. Allow your cabinets to dry before scrubbing them lightly using steel wool.
Step 5. Apply the cabinet stain:
Make sure you choose the best stain for cabinets because that’s what matters the most. Now, the staining is underway. It is important to apply a thin uniform coating. If you notice a spot that appears darker than you’d like, you can use an old cloth to rub the stain away.
It could take a day or two to completely dry. After the stain has completely dried, you can determine whether you require an additional coat. So, if you choose to apply several layers of stain, make sure to scratch the cabinet surfaces using steel wool between coats lightly.
Step 6. Seal the cabinets (if needed):
If this happens for your stain, you will not need to do this step. You’ll need to seal your cabinets using polyurethane to protect them from daily wear and wear and tear for more traditional stains. So, apply the polyurethane onto dry cabinets using lengthy, interspersed strokes. To achieve the smoothest finish, you can sand the cabinets a second time after the seal is dry.
Step 7. Rehang the cabinet doors:
Once you’ve got the color you like and dry the paint, you can put up your cabinet doors and then reinstall the hardware. The only thing left is to admire the work you’ve done.
What Is the Best Stain for Cabinets?
There are many stains and finishes that you can apply to your cabinets made of wood. But what makes them different, and what are they all about? What is the best stain for cabinets that you can conveniently buy and easily apply? We will go over the essential differences between the various stains you can use in your woodworking projects.
1. Oil-based stain:
The stain made of oil is the most popular and best stain for cabinets you can come across. It is a favorite among DIY-minded homeowners. An oil stain is typically made from the oil of linseed. So, this kind of wood stain is very easy to clean, making it ideal for DIY projects where you’re not experienced with the entire process, and errors can be easily made. Otherwise, the two bases of the finish and stain could mix unexpectedly which can ruin the exterior and cabinets.
2. Varnish stain:
Varnish stain is a hard-drying paint and is difficult to apply if you’re not an expert in DIY projects at home. This kind of stain could display brushstrokes and subtle marks if you don’t apply it correctly, so it’s usually best left to professionals. Varnish stain can be tough to remove once placed on the wooden surface. Therefore be sure to choose the color and finish you genuinely love.
3. Water-based stain:
Water-based stain can be used to stain cabinets coated by a water-based polyurethane finishing. As you’ve probably guessed, water and oil don’t blend well, so make sure you match the stain type to the type of finish you want to use. The water quickly evaporates.
4. Gel stain:
Gel stain for cabinets isn’t the most well-known product in terms of wood finishes. That’s for sure. But, if you’re dealing with pine woods that tend to be prone to blotching or areas of discoloration in which the color isn’t correctly absorbed into the wood, gel stain for cabinets is a great instrument to aid. So, the texture of gel stain is that it soaks into the wood in a smooth and even way which makes gel staining an ideal choice for homeowners who have no experience in DIY projects.
5. Lacquer stain:
One of the well-known minor choices, lacquer, is rapid drying. One applies the lacquer, while another is behind them, quickly wiping the stain off.
Alongside being fast drying, lacquer is also very sour. The scent requires a lot of ventilation and airflow to disperse. In general, you should not play around with lacquer staining. So, if you’re not a professional or have a lot of experience in DIY, have another person who can assist you in the procedure.
What is the most durable finish for kitchen cabinets?
Okay, we’ve talked about topcoat finishes made of polyurethane. But which one do you need to choose? There are a variety of various finishes available on the result you’re looking for and how you’re familiar with working with wood. So, this is the main distinction between them:
1. Wipe-on polyurethane:
Wipe-on polyurethane is perfect for those just starting because there aren’t apparent drips or brush strokes while applying the product. Therefore, you can work quite haphazardly, and nobody is likely to discern.
2. Brush-on polyurethane
The name suggests that brush-on polyurethane needs an application brush onto cabinets, making it difficult for novices. So, if you put on this kind of topcoat incorrectly and improperly, you’ll be able to spot streaks of brush strokes and drips far more quickly.
3. Satin vs Glossy finish
Satin-finished cabinets have fewer glares and a more subtle luster, whereas gloss-finished cabinets will be shiny and noticeable in the space. So, based on the space you’re working in, the doors of your cabinets could work with glossy or satin polyurethane. Talk to an interior designer for advice if you’re unsure whether you should go for cabinet staining or finishing for your appearance.
Conclusion:
The kitchen is the heart of your home. It’s the place where you cook, eat, and spend time with your family. A beautiful kitchen deserves a fresh look that reflects its importance in your life. You can achieve this by staining cabinets to match your space or decorating them differently for an updated feel without spending too much money on new ones. We provide professional cabinet staining & refacing services at competitive prices so get in touch today.